BluePagesPro + Roofle Integration

Alexander Falossi
Last Update hace 3 años
To integrate Roofle to your BluePagesPro page, follow the instruction below:
1.) Login to your Roofle account here.

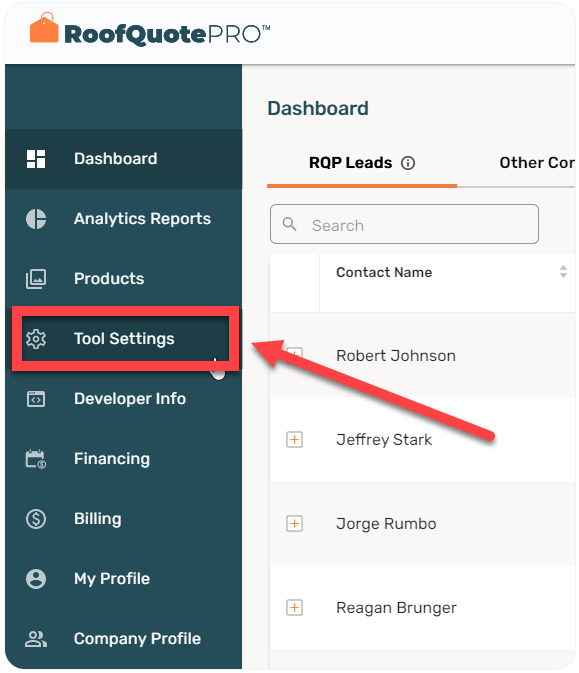
2.) Click the Tool Settings from the menu.
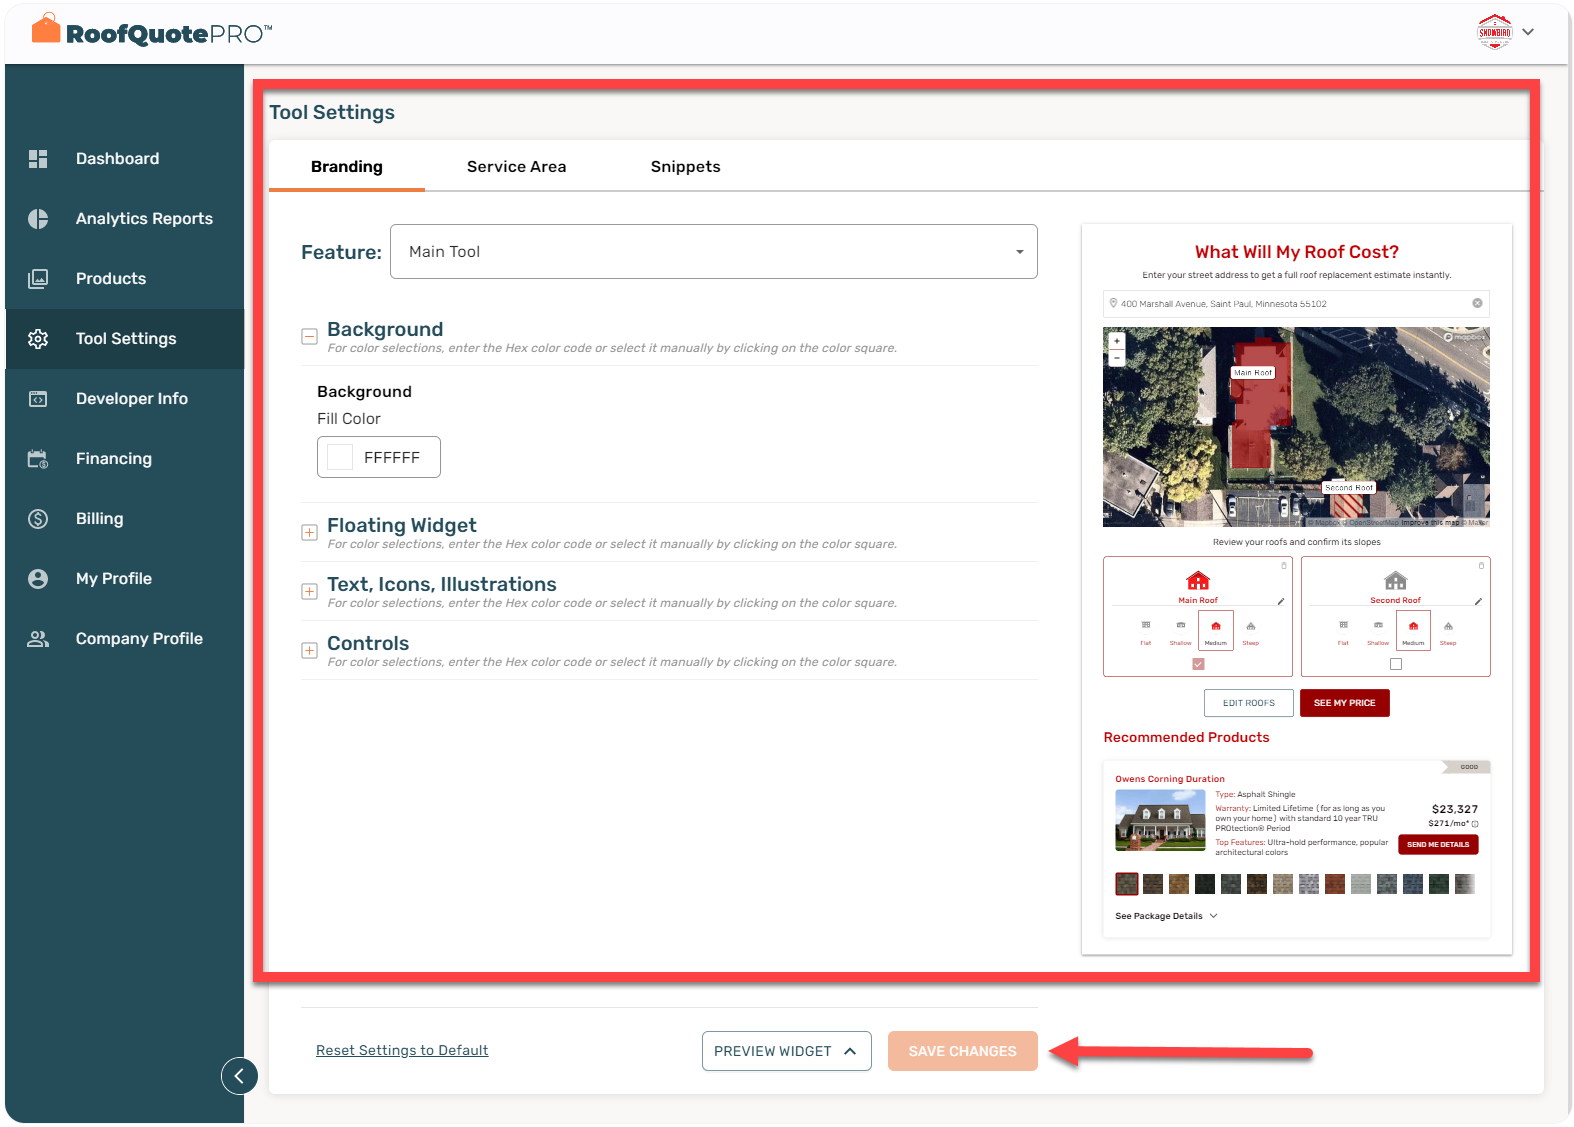
3.) Fill up the Branding, Services area and Snippets to start setup your floating button then click the Save Changes button to save your details.
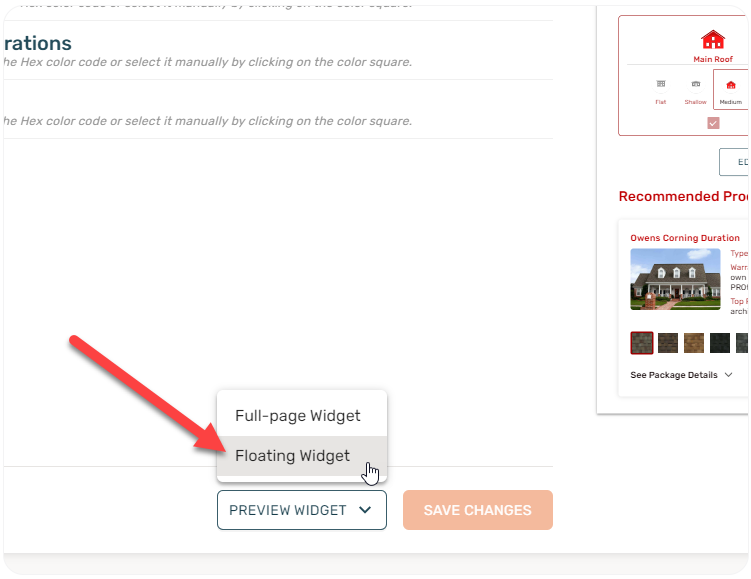
4.) If you want to preview the button, press the Preview widget button at the bottom of the page.
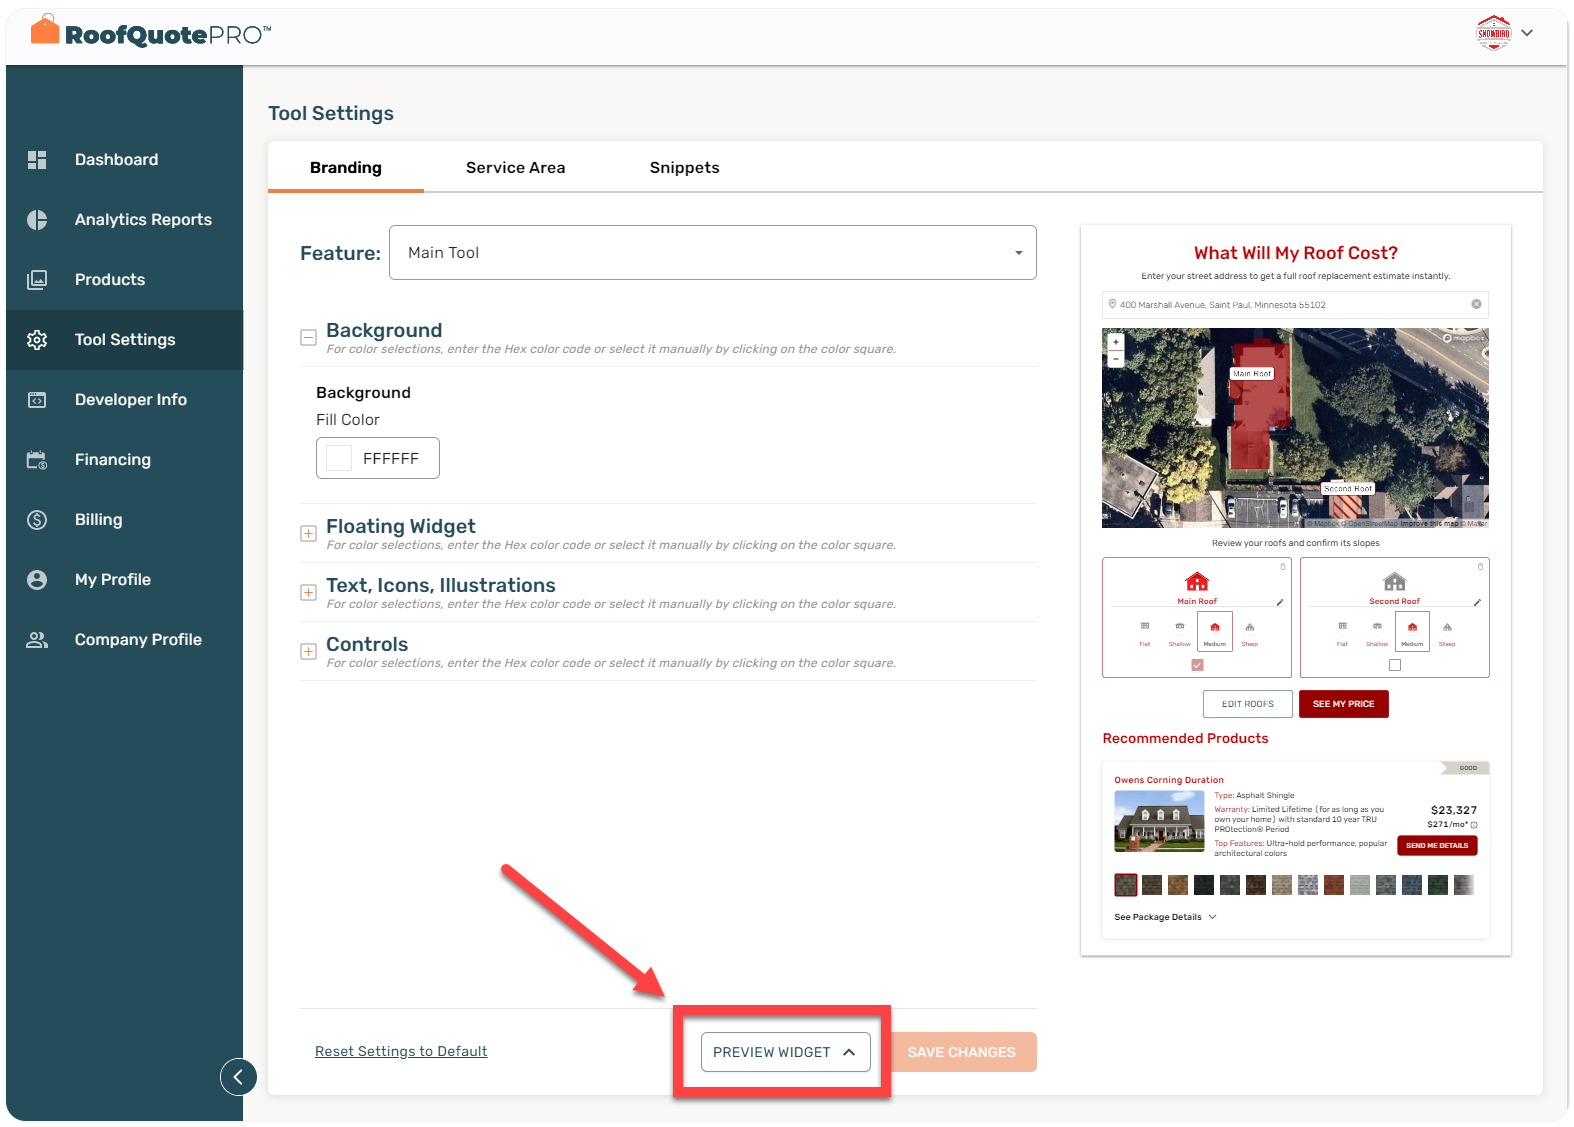
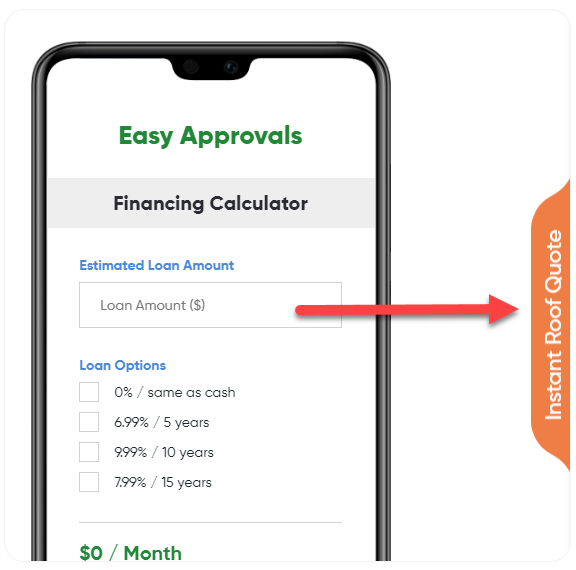
5.) Click the Floating widget to start preview.
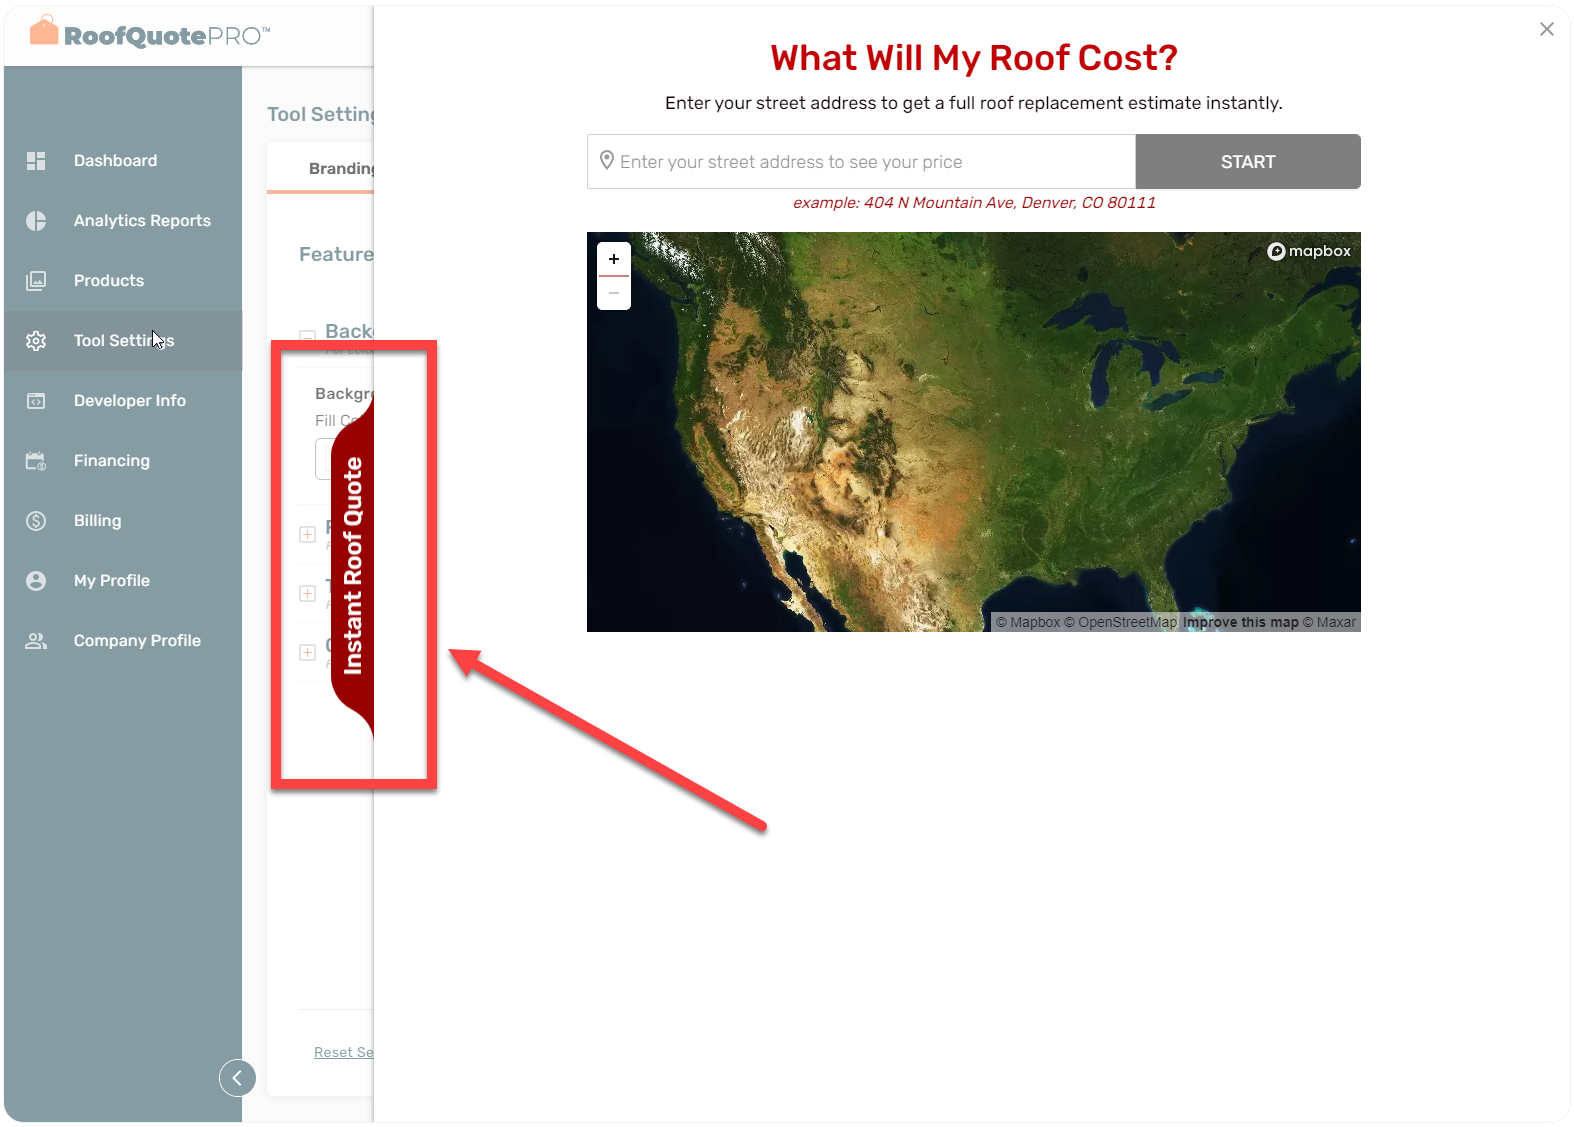
6.) The preview will display a view like the below image.
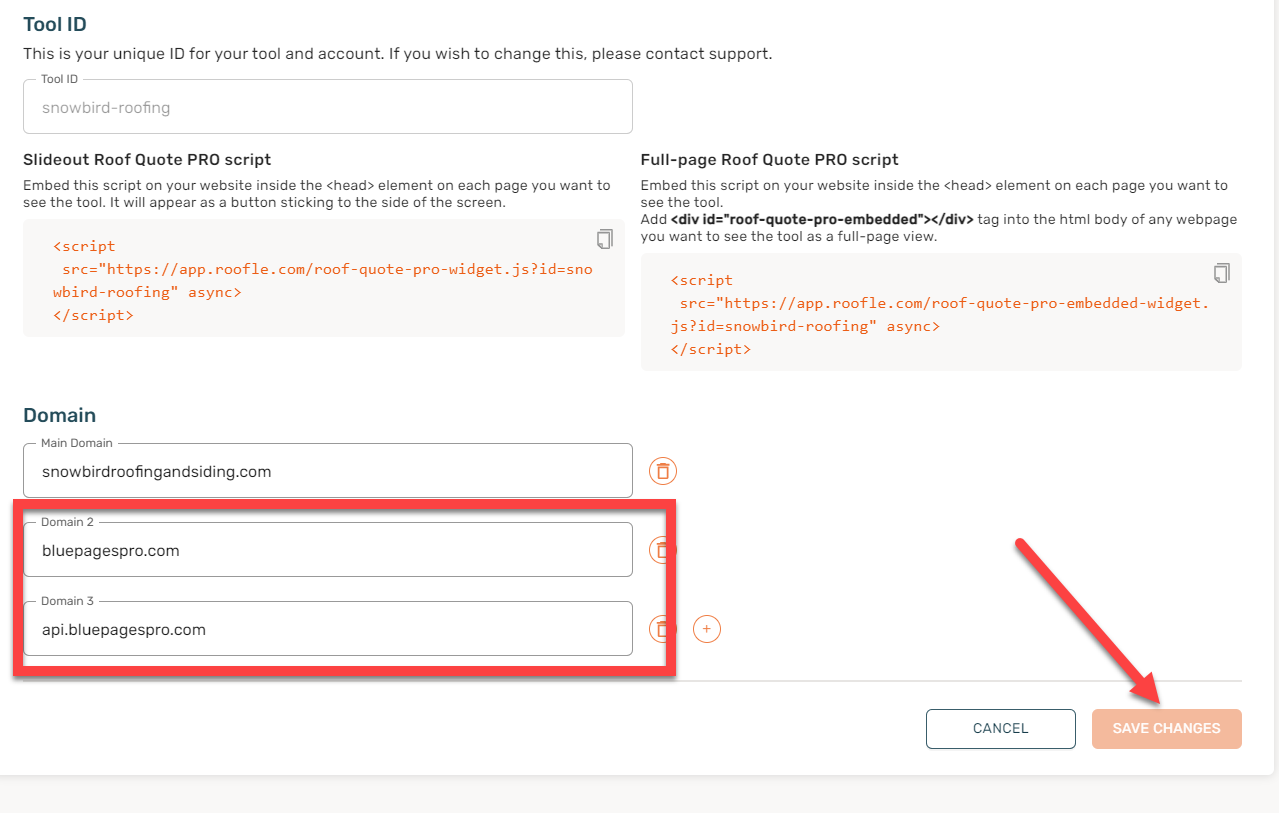
7.) Click the Developer Info from the menu then click the Copy script icon to copy the embedded code.

8.) Add the bluepagespro domain to ensure that the code will work to your bluepagespro pro plan page. Click the Edit button then add our domains to the URL fields. Click the Save Changes button to apply.
Domain 1: bluepagespro.com
Domain 2: api.bluepagespro.com
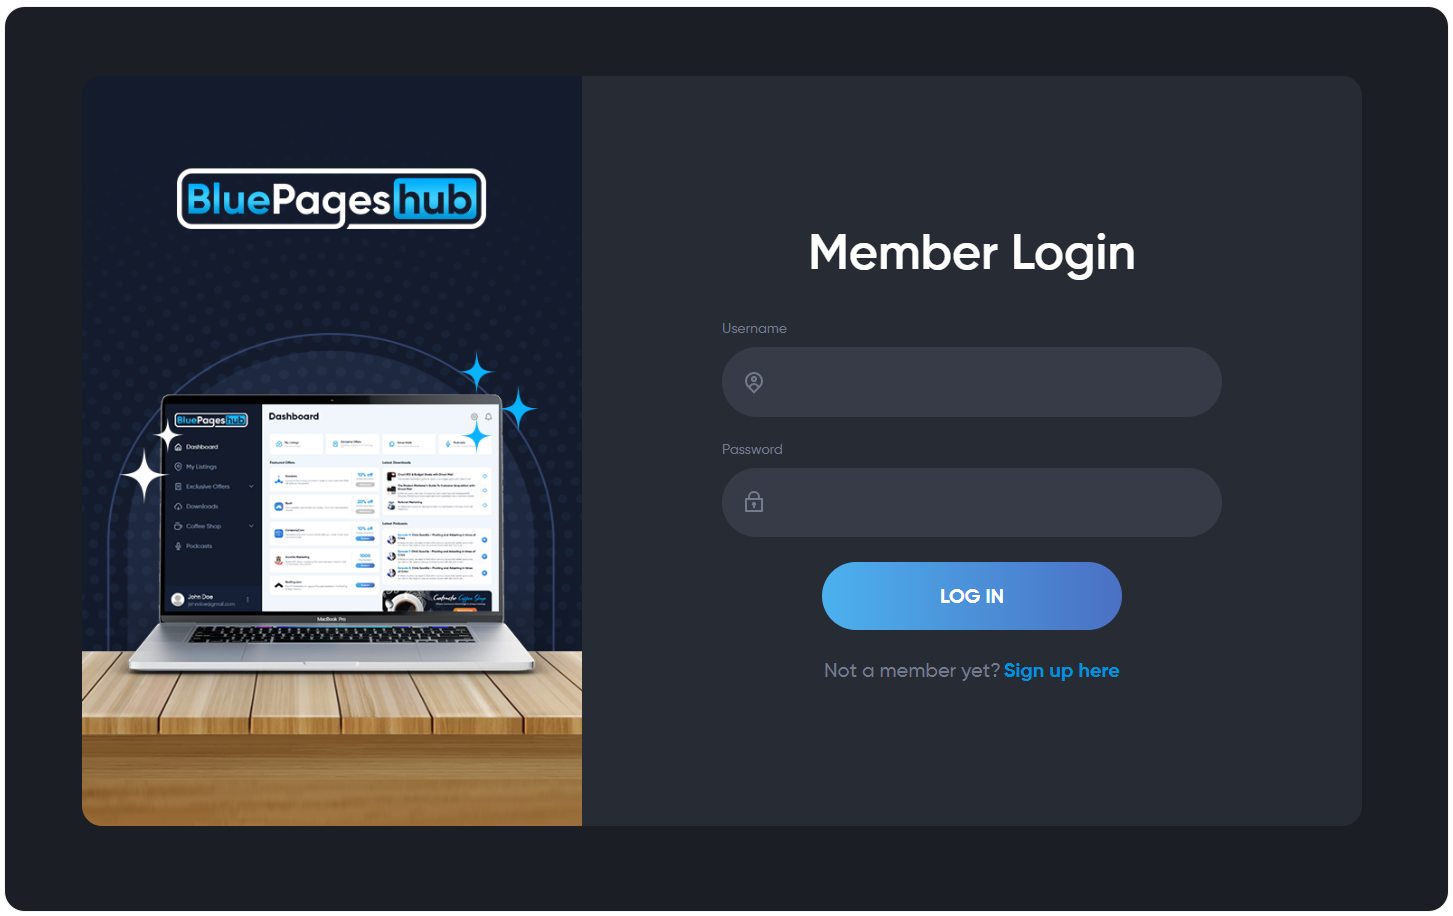
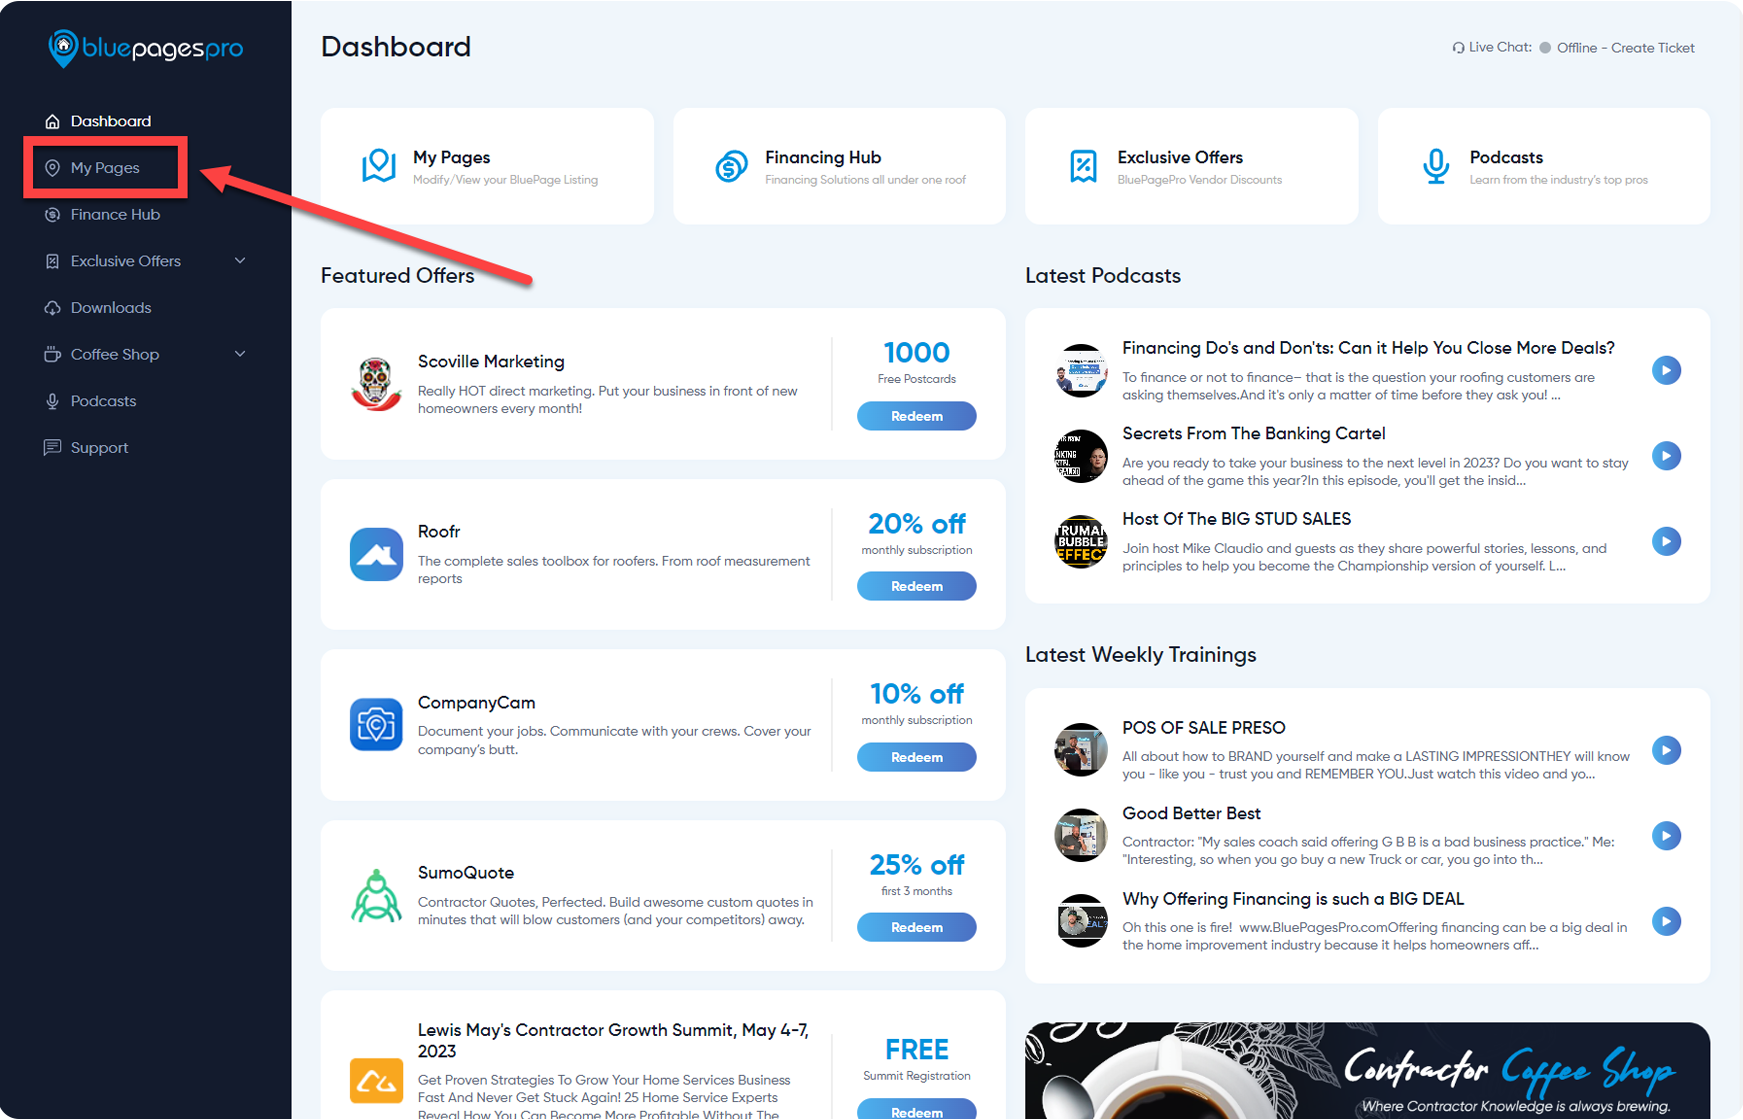
9.) Login to your BluePagesPro here.
10.) Go to your My Pages from the menu.
11.) Select the listing where you want to integrate the Roofle.
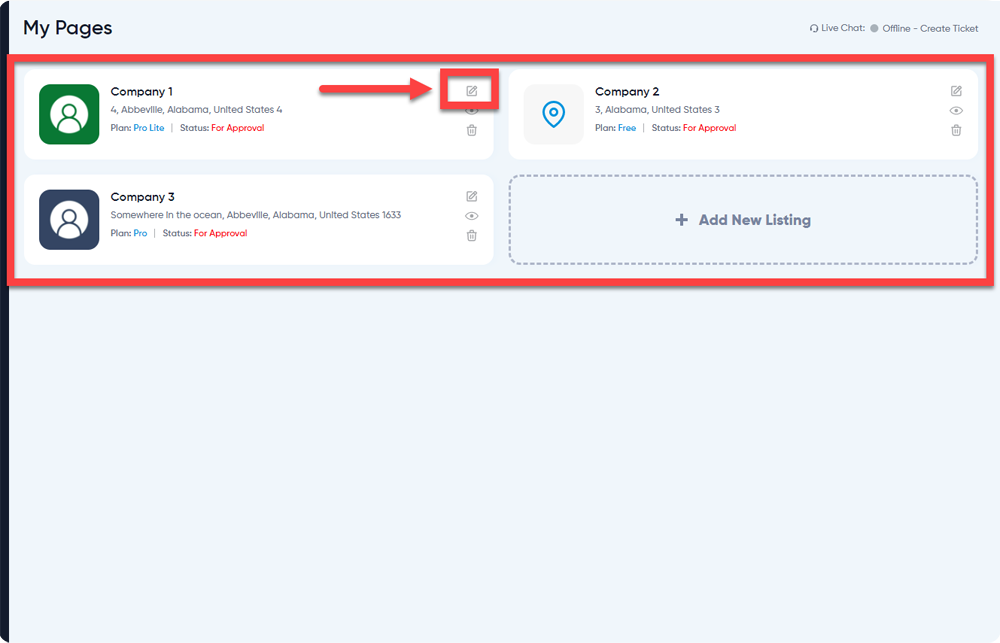
Note: This integration is only available for Pro Plan.
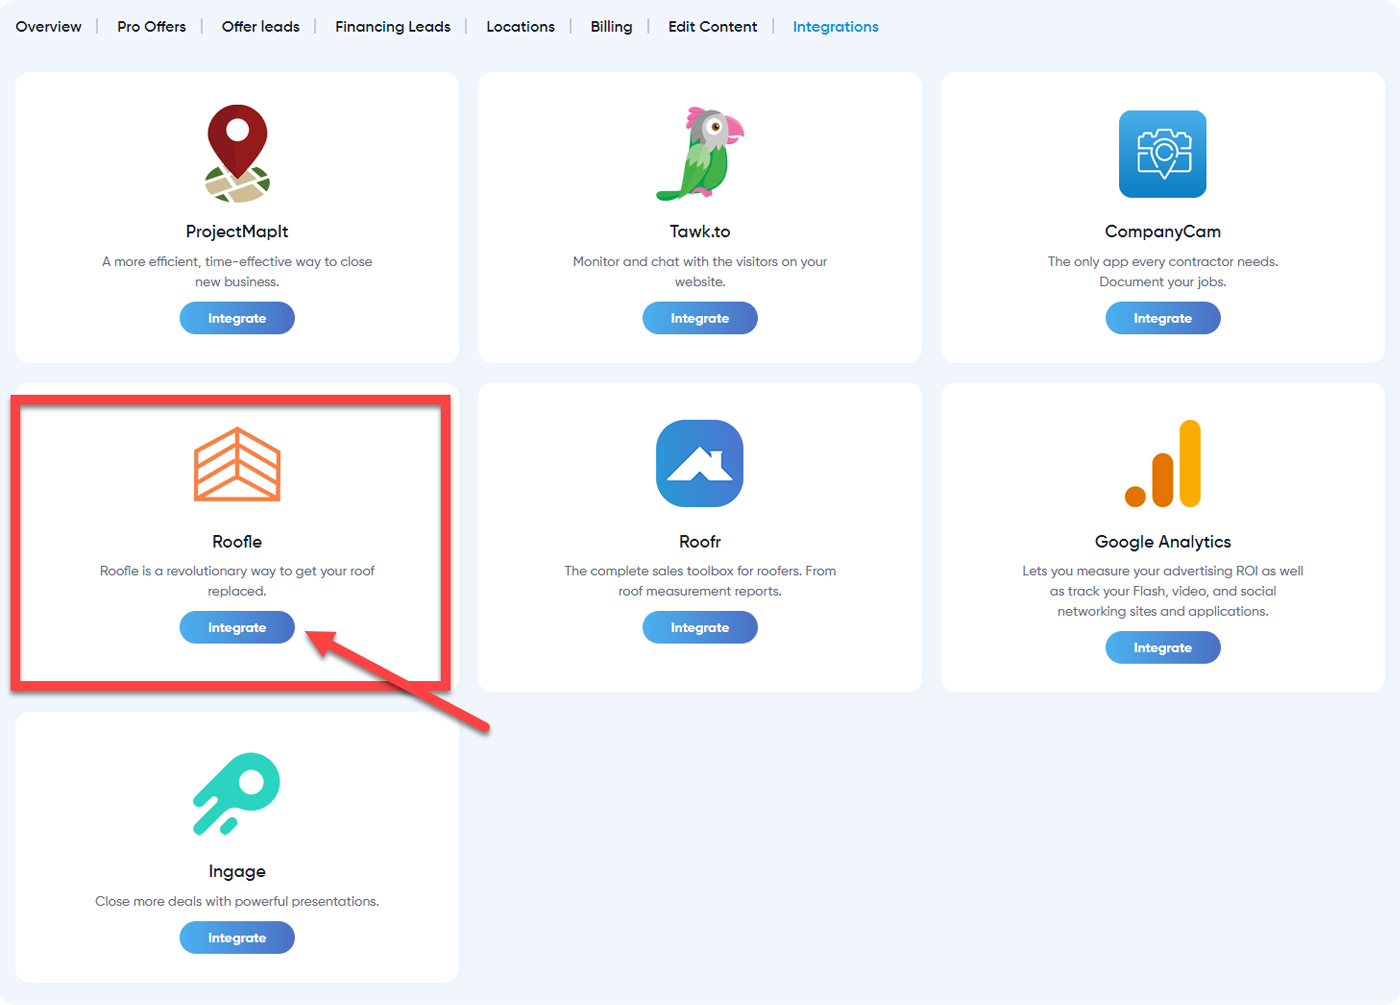
12.) Go to the Integrations then click Integrate under the Roofle.
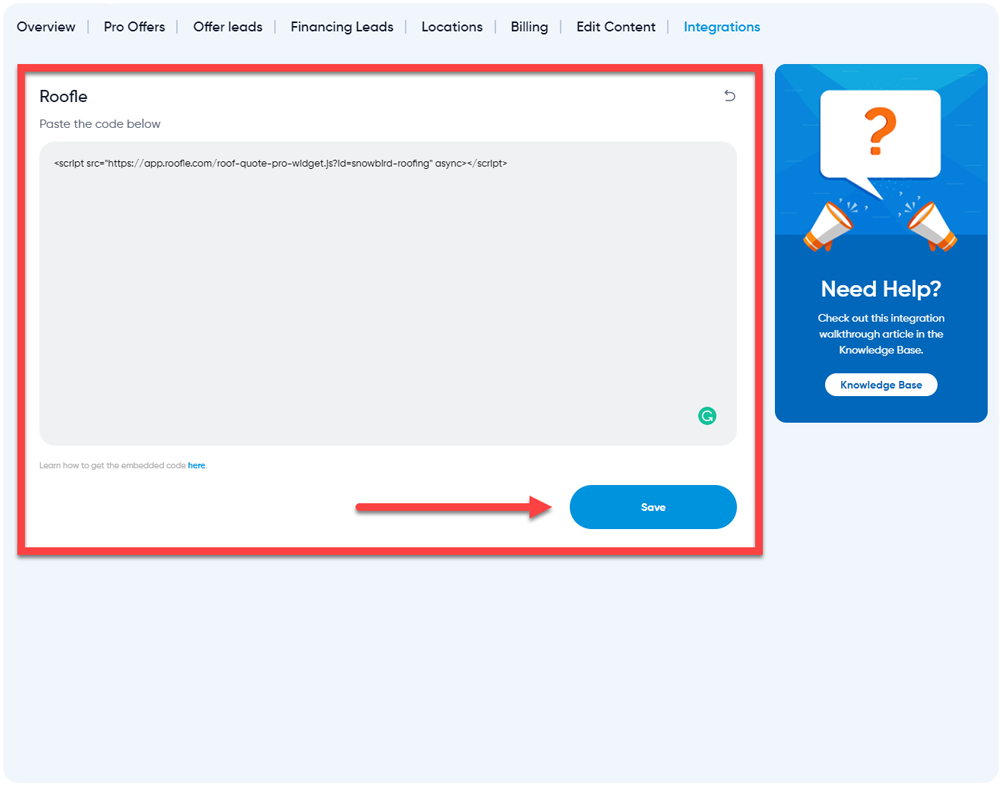
13.) Paste the code from the Roofle to the textarea field as attached below then click the Save button once done.
14.) You are Done! The Roofle Floating button will show on the side of your page like this.